7 minutes
Hardware Hacking - Part 2
In Hardware Hacking Part 2, we help an elf grant access to card number 42. For silver, we find the passcode and use the slh command to grant access. For gold, we locate the SQLite database, modify the access value directly, and generate a valid HMAC signature using details from another table.

Link
If you want to play the challenge yourself, you can find it here:
https://2024.holidayhackchallenge.com/
Story line
Let’s start off by talking to the elf:
Next, we need to access the terminal and modify the access database. We’re looking to grant access to card number 42.
Start by using the slh application—that’s the key to getting into the access database. Problem is, the ‘slh’ tool is password-protected, so we need to find it first.
Search the terminal thoroughly; passwords sometimes get left out in the open.
Once you’ve found it, modify the entry for card number 42 to grant access. Sounds simple, right? Let’s get to it!
Hints
Recon
Upon clicking the challenge icon, a terminal shows up with a boot menu.

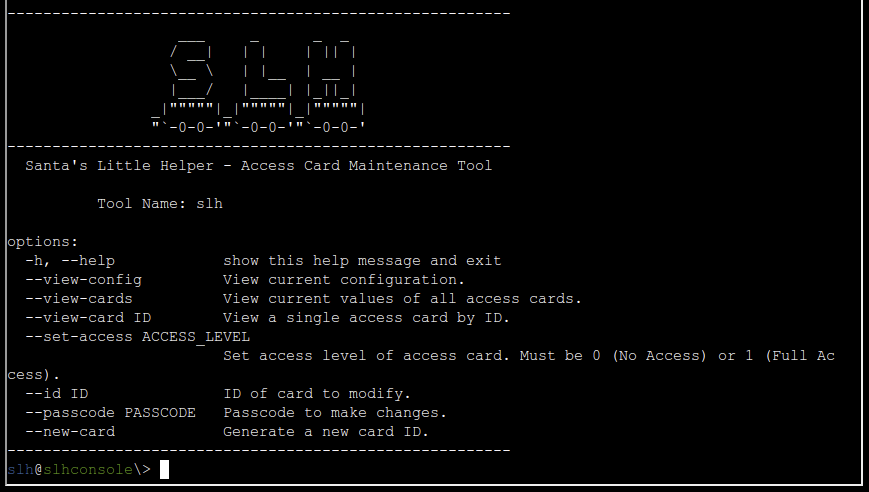
If we select Startup system, a terminal shows up with Santa’s Little Helper, an Access Card Maintenance Tool.

We could also boot to the U-Boot console, but let’s explore the system first.
Silver
From reading the help page for SLH which was shown, we probably need to use the slh command using the correct flags. It looks like we should use --set-access 1 and --id 42 to grant Full Access to the card with ID 42. Let’s try that.

Hmm, it seems we need to provide a passcode to make changes. This can be provided by using the --passcode option.
Since the passcode needs to be provided as an argument like this, it is likely someone did it before and left the passcode in the history file. Depending on which shell is being used, the history can be read using the history command, this will show all commands the user has run. We can also combine this command with grep to search for things in it. A command combining the two to look for the passcode argument can look as follows.
history | grep passcode

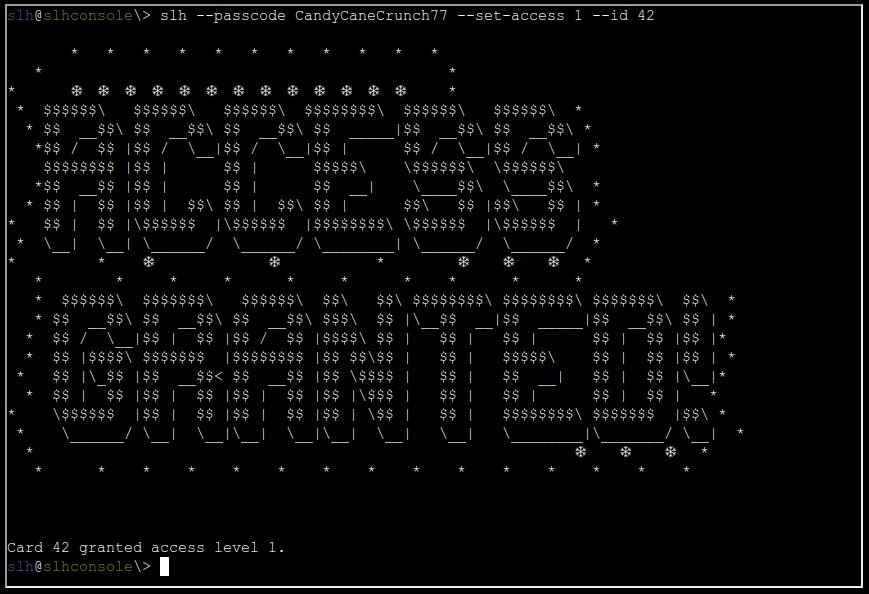
Great, we found the passcode! Now let’s add it to the command and execute it.
slh --passcode CandyCaneCrunch77 --set-access 1 --id 42

We got the silver medal!
Gold
Continued story line
Let’s first talk to the elf again, he’ll tell us what we’ll have to do for gold.
Wow! You’re amazing at this! Clever move finding the password in the command history. It’s a good reminder about keeping sensitive information secure…
There’s a tougher route if you’re up for the challenge to earn the Gold medal. It involves directly modifying the database and generating your own HMAC signature.
I know you can do it—come back once you’ve cracked it!
Exploration
Let’s start by finding that database. We can start by listing the directory.

The “access_cards” file looks interesting. To find out what kind of file it is, we can use the file command.

It looks like it’s an SQLite 3 database file.
Solving
We can read the SQLite file using the sqlite3 command.

Good, the sqlite3 is installed on the system. We can open the file using .open FILENAME, like the help mentions. After we’ve opened the file, we can also list the tables using .tables.

Let’s explore the “access_cards” table further, as that one likely contains the card we need to change. We can get it’s schema (table layout) using .schema access_cards.

Now that we know the schema, we can formulate a query to get the current values of the card with id 42.
SELECT * FROM access_cards WHERE id = 42;
| id | uuid | access | sig |
|---|---|---|---|
| 42 | c06018b6-5e80-4395-ab71-ae5124560189 | 0 | ecb9de15a057305e5887502d46d434c9394f5ed7ef1a51d2930ad786b02f6ffd |
So the goal is likely to set the access value to 1 again, but we also need to generate a new HMAC signature for the sig value.
Before we can generate one, we need to find out the input for the HMAC algorithm; we need the input format, a key as well as the hashing function.
The hashing function can be inferred from the current hash. Judging by the length and type it’s likely SHA256, and any hash identifier will confirm that. We’re still missing the other values though. Perhaps we can find some clues for this in the “config” table.
SELECT * FROM config;
| id | config_key | config_value |
|---|---|---|
| 1 | hmac_secret | 9ed1515819dec61fd361d5fdabb57f41ecce1a5fe1fe263b98c0d6943b9b232e |
| 2 | hmac_message_format | {access}{uuid} |
| 3 | admin_password | 3a40ae3f3fd57b2a4513cca783609589dbe51ce5e69739a33141c5717c20c9c1 |
| 4 | app_version | 1.0 |
Look at that, the key and input format are right there. Now that we have those, we can plug the values into CyberChef, which will generate a signature for us.
After generating the signature, we can update the row in the database using an SQL query again.
UPDATE access_cards SET access = 1, sig = "135a32d5026c5628b1753e6c67015c0f04e26051ef7391c2552de2816b1b7096" WHERE id = 42;
After running it, and waiting for a second, we get the gold medal!
Final elf message
Brilliant work! We now have access to… the Wish List! I couldn’t have done it without you—thank you so much!
Holiday Hack Challengectfhackingwriteup
871 Words
Unknown
2024-12-31 12:52 +0000
fab68f7 @ 2025-01-05